Note: Please read the article carefully before proceeding! If in the process of using you encounter any errors, such as broken download links, slow loading blog, or unable to access a certain page on the blog ... then please inform me here. Thanks!
In previous articles, I showed you how to draw pictures in PowerPoint, and how to customize pictures such as: moving, resizing images ... in a very detailed and easy to understand way.Yes, but in this article I will introduce you to the Merge Shapes properties in PowerPoint, these are also quite good features for drawings, if you know how to use these properties, drawings Your will be more unique and more beautiful there.
Read more:
I. Attributes in Merge Shapes in PowerPoint
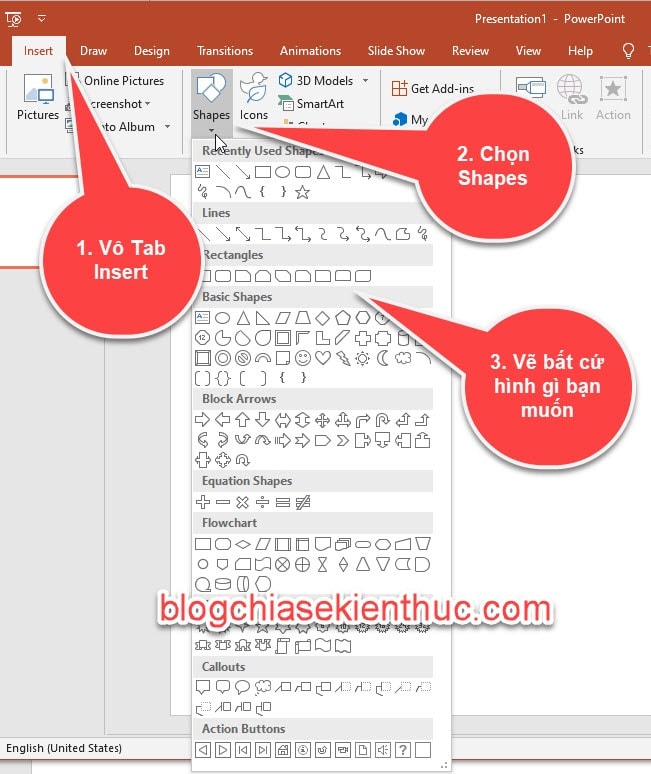
Prepare: We will now make two intersecting squares, or any of them - depending on your needs.+ Step 1: Go to Tab
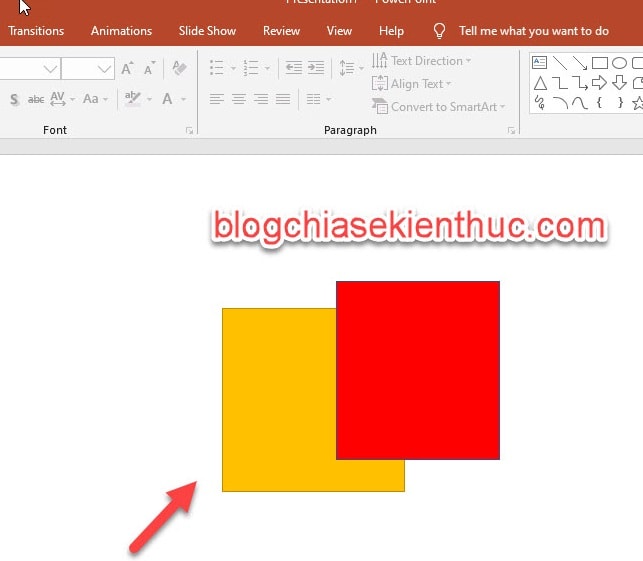
Insert => then select enter Shapes => then select which image you want to draw => then overlap the image.Here I will draw two squares and fill the first square with yellow, while the second square is red to make it easier to distinguish.
Note: To draw a square, remember to hold the Shift key while drawing, the square will look without eye strain to align 😀
To color drawings in PowerPoint, you select the image => then go to Tab
Format => select Shapes Fill to choose a color for your pictureAs a result, we will be as shown below:
Now we will turn to learn about the properties in
Merge Shapes of PowerPoint.#first. Union properties
When you draw two overlapping shapes that we want to put together (ie remove the intersection part), we will use the attributeUnion in Merge Shapes.Perform:
Select two pictures by holding down the key
Ctrl then click each picture => then go to Tab Format => Click on the drop down arrow in the section Merge Shapes => click on Union to compose the picture.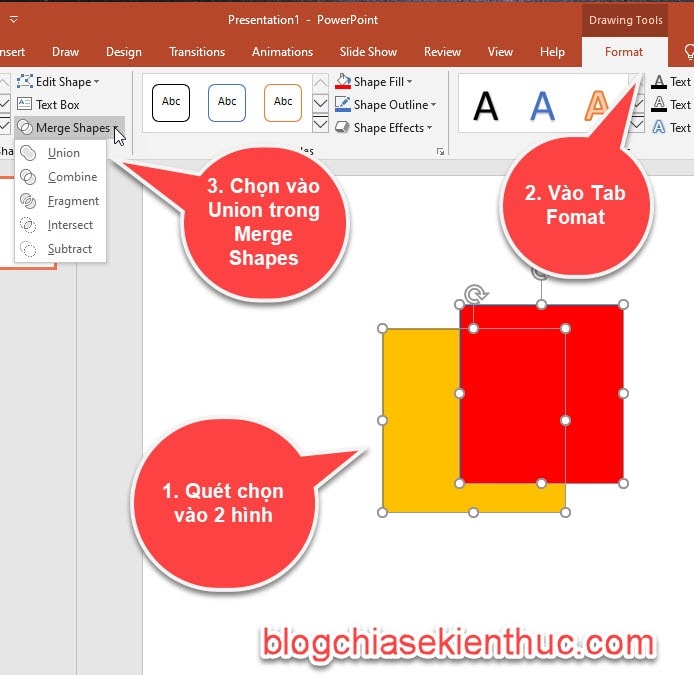
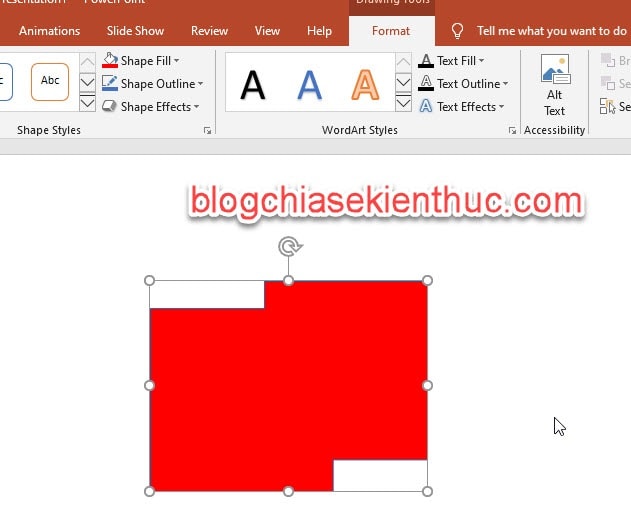
As a result, the two images have been merged without showing the intersection.
Note: At first there are 2 yellow and red, when combined, the two images turn red, because you chose the red one first, and you want to be yellow, you choose the yellow one first.
#2. Combine properties
When you select this property, we will get the intersection of the two figures, and it is white as shown below.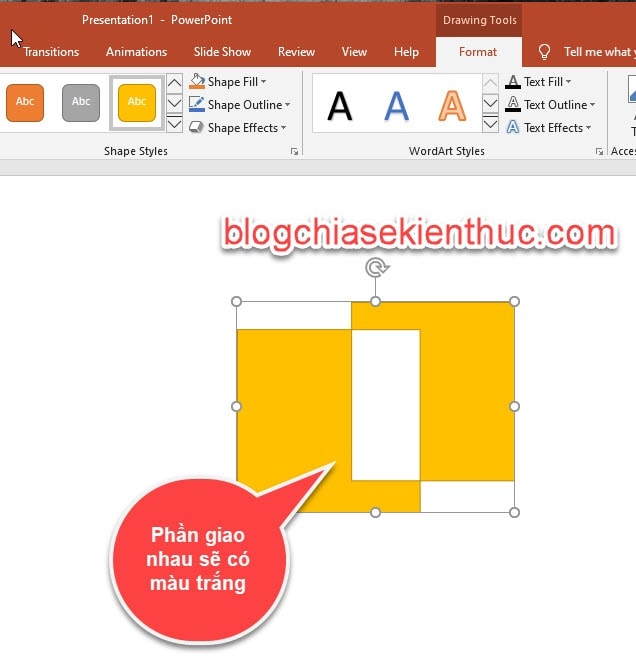
# 3. Fragment attribute
When you select this property, it will clearly show the intersection of the imagesCombine, properties Fragment Only the bold pattern intersects.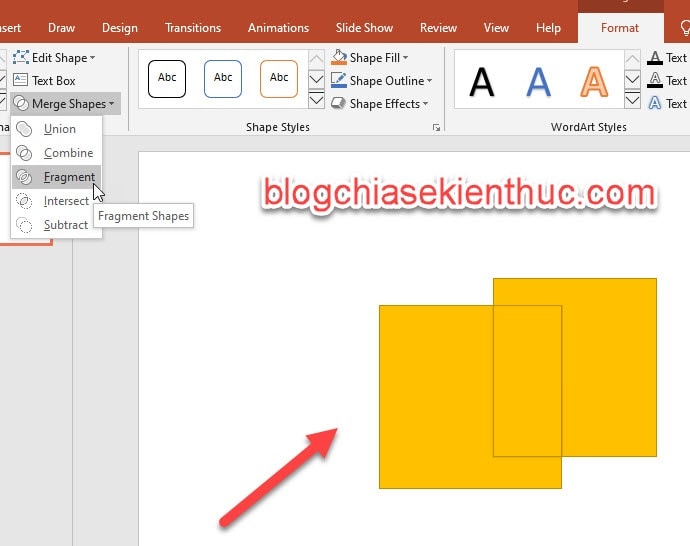
# 4. Intersect property
PropertiesIntersect will display the intersection only.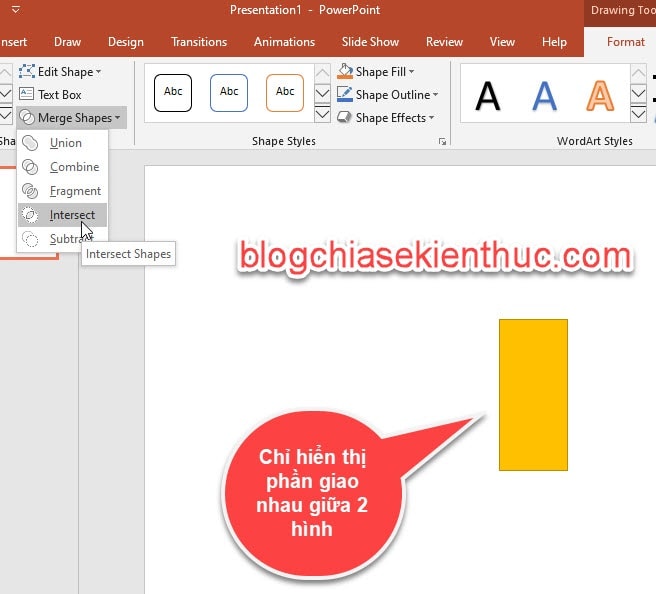
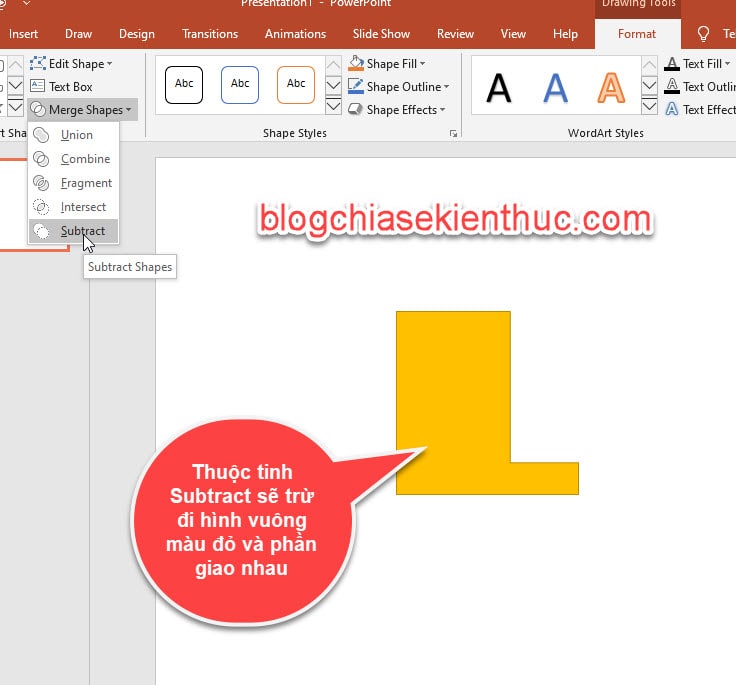
# 5. Subtract property
If you selected the yellow square first, then the red square => and then select the attributeSubtract then the entire red square and the yellow square intersection will be subtracted and not displayed.The result will look like the image below.
II. Epilogue
Yes ! So in this article I have instructed you very detailed about Attributes of Merge Shapes in PowerPoint Alright then.These are quite good attributes while drawing pictures in PowerPoint, you can apply to your drawings in presentations to add more vivid and intuitive offline.
Hope this knowledge will be helpful to you. Good luck !
CTV: Ngoc Cuong - Blogchiasekienthuc.com


")
 Haven't Tried")


Post a Comment
Post a Comment