Instructions for compressing images with the full and detailed reSmush.it Image Optimizer plugin.

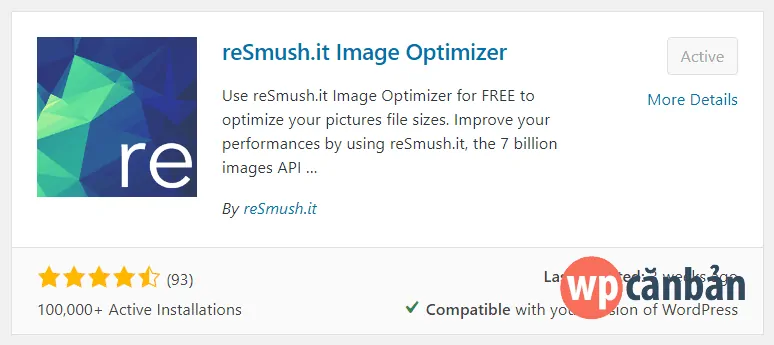
EWWW Image Optimizer has long been no longer the optimal choice that WP Basic recommends for customers who are using our WordPress Hosting service . This is because EIO (free) uses the host's own resources to compress images, which can result in the server being overloaded and the website loading slowly (if there are a large number of images to be compressed). Instead, we install reSmush.it Image Optimizer or Robin Image Optimizer for customer websites. In today's article, I will show you how to install and use the reSmush.it Image Optimizer plugin. The remaining plugin will be introduced in the next article.
Why should you choose reSmush.it Image Optimizer?
- Completely free but the compression effect is very good, unlike the Smush (free) plugin of WPMUDEV.
- Unlimited number of compressed images.
- Support for image compression up to 5MB.
- Support compressing both original image and sub-image (thumbnail).
- Using reSmush.it's own server to compress images so it does not consume host resources.
- Although the image compression server is located in France, the compression speed is quite fast, especially if you use an international host.
Compress images with the reSmush.it Image Optimizer plugin
2. Next, go to Media => reSmush.it . Here, you will see a number of settings as follows:

Inside:
- Image quality : image quality after compression. You can set from 0 to 100. The lower the size, the lower the size but the worse the image quality. The default of the plugin to be 92, however, we recommend that you set it between 82 and 85.
- Optimize on upload : automatically compress the images during upload. You should enable this feature so that images uploaded (after installing the reSmush.it plugin) will automatically be compressed.
- Enable statistics : enable statistical data compression image. You should enable this feature to see how many images have been compressed and how much they have been reduced.
- Enable logs : enable logging. It is not necessary for normal users so you can turn it off.
- Process optimize on CRON : use CRON to automatically run image compression. If you are using a shared host, you should turn this feature off.
- Preserve EXIF : retain EXIF (additional information for the image). You should disable this feature if the website does not provide image-related services and products. Retaining EXIF will make the image a bit heavier.
- Do not preserve backup s: do not create backups of the original image (tail -unsmushed). Enabling this feature will save you host space + not increase the number of archived files, but you will be able to restore the image to its state before being compressed again.
Click the Save Changes button to save after the setup is complete.
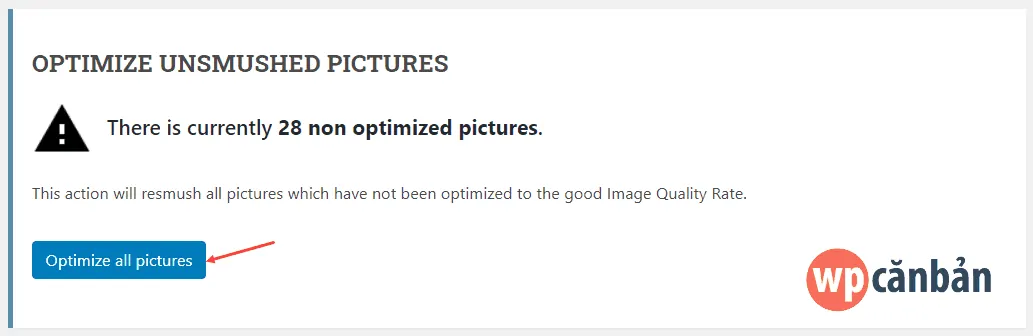
3. In the left interface, you will see the statistics of the number of images that have been uploaded but not yet compressed. Click on the Optimize all pictures button for the plugin to optimize the images. How quickly or slowly it depends completely on the number of images you need to compress. You have to make sure this web browser window is open until the process is over.
Once completed, you will receive a notification that looks like this.
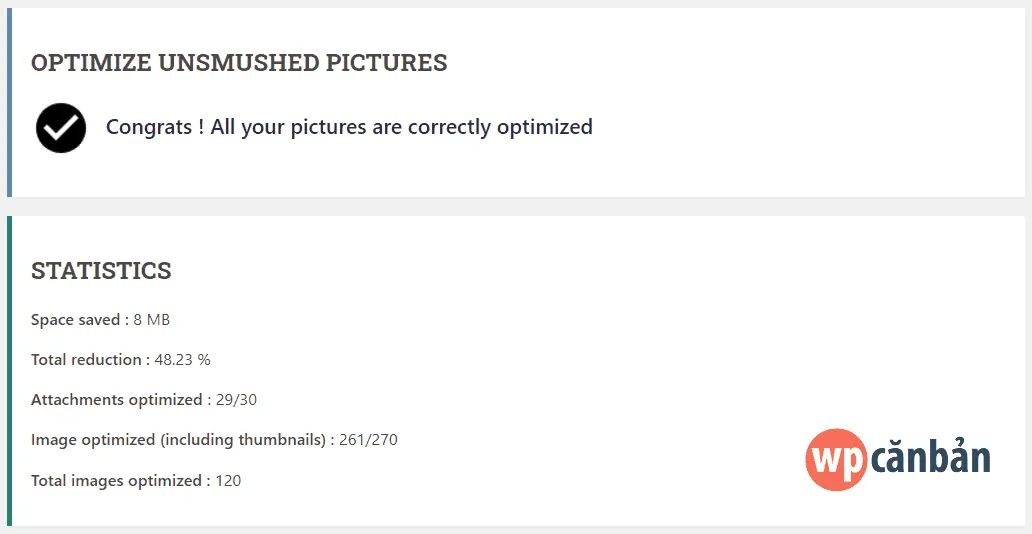
Right below is the statistics of the number of optimized images, the percentage of capacity and the actual size has been reduced ...
4. If you previously chose to backup the original image or use the reSmush.it Image Optimizer plugin since you didn't have the backup disable feature and now want to delete them (to save space and reduce the number of saved files) ), enable the Do not preserve backups feature then click the Remove backup files button .

It's simple, right? Good luck!


")
 Haven't Tried")


Post a Comment
Post a Comment