Instructions for recording screen with Camtasia 9
| Camtasia
In this article, I will show you how to record the screen with Camtasia 9, the easiest-to-use computer screen recording software.
When using a computer, there are times when we need to record screen videos to guide friends to do something or record a strange error to share and find a way to fix. If you are wondering what software to use, Camtasia 9 will be a reasonable choice.
This is one of the very light computer screen recording software , so it is suitable for many different computer configurations, if you have downloaded it but do not know how to use it to record the screen, let's start right away. Go to the tutorial!
I. Start Camtasia 9 software and click the Record button
The first step to record the screen with Camtasia is that you have to download it using the link that I have provided above. Then install and launch the software.
Below is the default interface of Camtasia 9 software, left-click the small Record button in the upper right corner to open Camtasia Recorder .
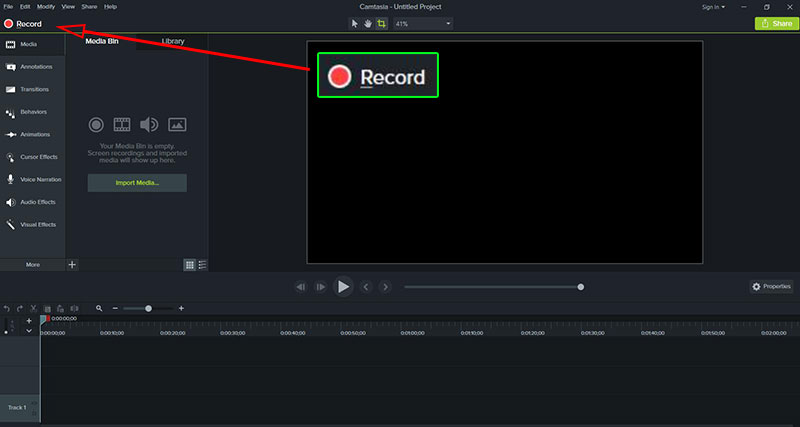
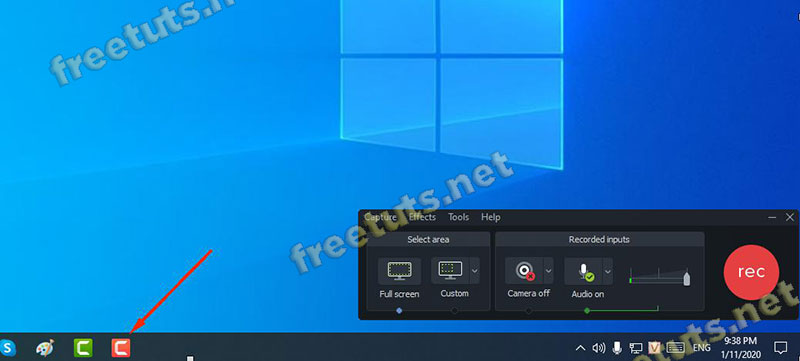
Immediately after that, the Camtasia Recorder tab will appear, if there is no customization, you can press the rec button to start recording the screen immediately.
However, if this is your first time using Camtasia, follow step two to understand the options in the Recorder window.
II. Camtasia Recorder parameter options and screen recording
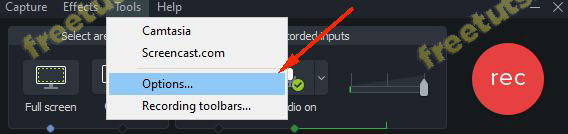
1. Menu bar
In the menu bar you have a lot of options like Capture, Effects, etc. However, in this tutorial, I think Tools -> Options is one of the options that you should change.
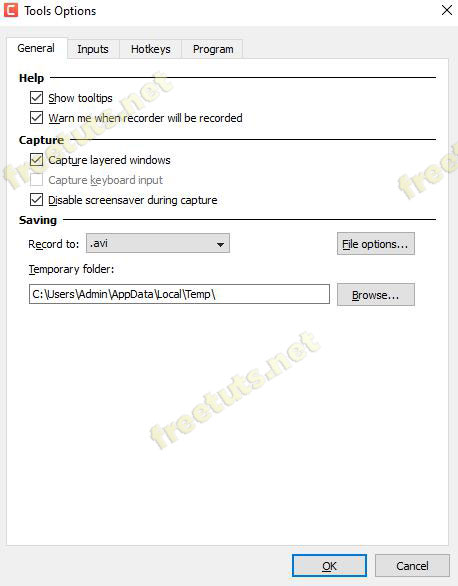
In the Tools Options window , there are many different tabs such as General, Inputs, etc. These items for normal video recording needs should be left as default.
As for the General tab , please change the option Record to to .avi -> with this change, after recording the screen without editing, you can post - Upload immediately upload this video to Facebook or Youtube, etc ( By default, the option Record to is *.trec, this format can only be viewed and edited on Camtasia software).
2. Select area (select screen recording area)
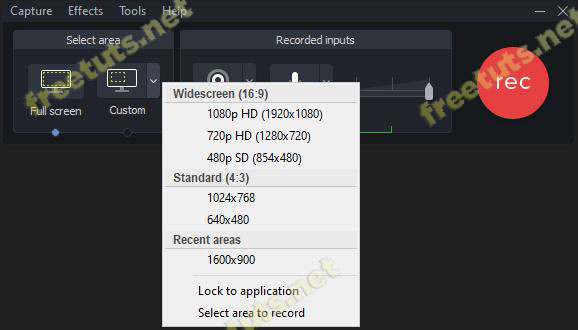
Record screen with Camtasia Recorder
Full screen: This is the default mode, the recorder will return the screen to the exact same size as your current computer / TV screen resolution. For example 1600x900, 1920x1080, etc
Custom: Just click the "drop down" button, a series of screen size options will appear, for example HD, SD, etc. You can also customize the size of the screen recording area to your liking.
* Note: "Screen recording area size" is different from the resolution guys! You may think that when resizing in the Custom section , the video quality will decrease, in fact this section can only change the screen recording area from "full screen" to "part of the screen" with the size option.
3. Mục Recorded inputs

In this section, just knowing a little English can understand how to use it:
Camera: This allows you to add a webcam to the screen while recording, ie recording the computer screen at the same time as the webcam
Audio: Enable/disable microphone, select different microphones if the computer has more than one. Right next to it is the microphone volume up / down slider, drag left / right to change as you like.
Finally, there is the big red Rec button , you can click it to start recording the screen or press the shortcut F9to start recording. By default, the key F10will end the screen recording process.
III: Edit videos and export files
Method 1: Skip the editing step
Immediately after finishing the screen recording process with Camtasia Recorder, the Camtasia software editing window will appear, as you can see, our video will appear on the timeline bar and in the Media Bin section.
Right-click the video and select Open File Location...

Immediately after that, the folder containing the recorded video will open, this video file is in *.avi format and you can immediately review or share it on social networks without editing.

Method 2: Make edits and export the video into a new file
Usually in most cases, you have to edit videos such as cropping, adding color effects, removing noise or dubbing, etc., so it's as simple as editing a regular video with software. Camtasia 9.
1. As you can see on the left side of the window there are many tools, edit the video as you like.
2. Save (export) it in a new format by clicking Share -> Local File...

3. Immediately after that, the Production Wizard window will appear, you can choose the available settings such as:
Share to YouTube, Google Drive, Vimeo, etc. : Go to website login right in Camtasia with respective account to Upload videos directly.
MP4, Custom, etc. : Save videos to your computer's hard drive with advanced settings.
Then remember to click Next to apply the option!

3. In most cases, we will choose how to export the file to the computer hard drive, right after that, give it a name and select the path and then click Finish to save the video file.

Rendering is in progress.

Result: Click Open production folder to open the folder containing the new video file.

End screen recording with Camtasia: Now you can quickly review or share on social networks online.

The tutorial to record screen with Camtasia 9 is coming to an end. I believe that with very simple operations, anyone can record the computer screen quickly. Before you leave, don't forget to share this tip if you found it helpful!


")
 Haven't Tried")


Post a Comment
Post a Comment